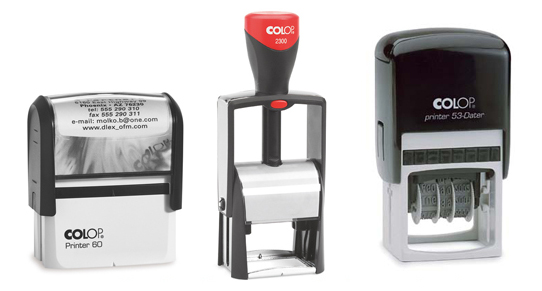
If you have switched to using self-inking stamps instead of the traditional stamp on ink pad version, you will notice that you no longer need to have an ink pad beside you at all times in the event that you have to verify or approve documents.
While its built-in ink pad automatically moistens the stamp, the ink will run out after regular use, hence the need for a refill. Refilling self-inking stamps are surprisingly easy. Just follow the steps below and get back to stamping documents in thirty minutes or less.
1. Unlock the stamp mechanism to release the ink well. For some stamps, you have to press down to release the protrusion of buttons. You can hold the stamp at this angle so you can refill it.
2. If your stamp has an ink strip, you have to dislodge it and remove it from the stamp. You can find the ink strip in front of the stamp. Take care of ink strips that are attached to the stamp as you may destroy the stamp by pulling it completely off.
3. Next, you have to refill the ink strip. For most stamps, six to fifteen drop of ink on the ink strip will be enough. Always refill the ink strip with the color that has just dried out. Never mix colors, as this will affect the outcome of the impression.
4. Put the ink strip back inside the stamp and clean up the stamp. Do this by making impressions on a few pieces of scratch paper, as the first few impressions will be a little blurred or messy. Wait for ten to fifteen minutes before using on actual documents.
So if you want to have a stamp that saves time and effort, the self-inking stamp is the way to go.


